XTester
Stop-loss and take-profit in one candle: checking a backtest
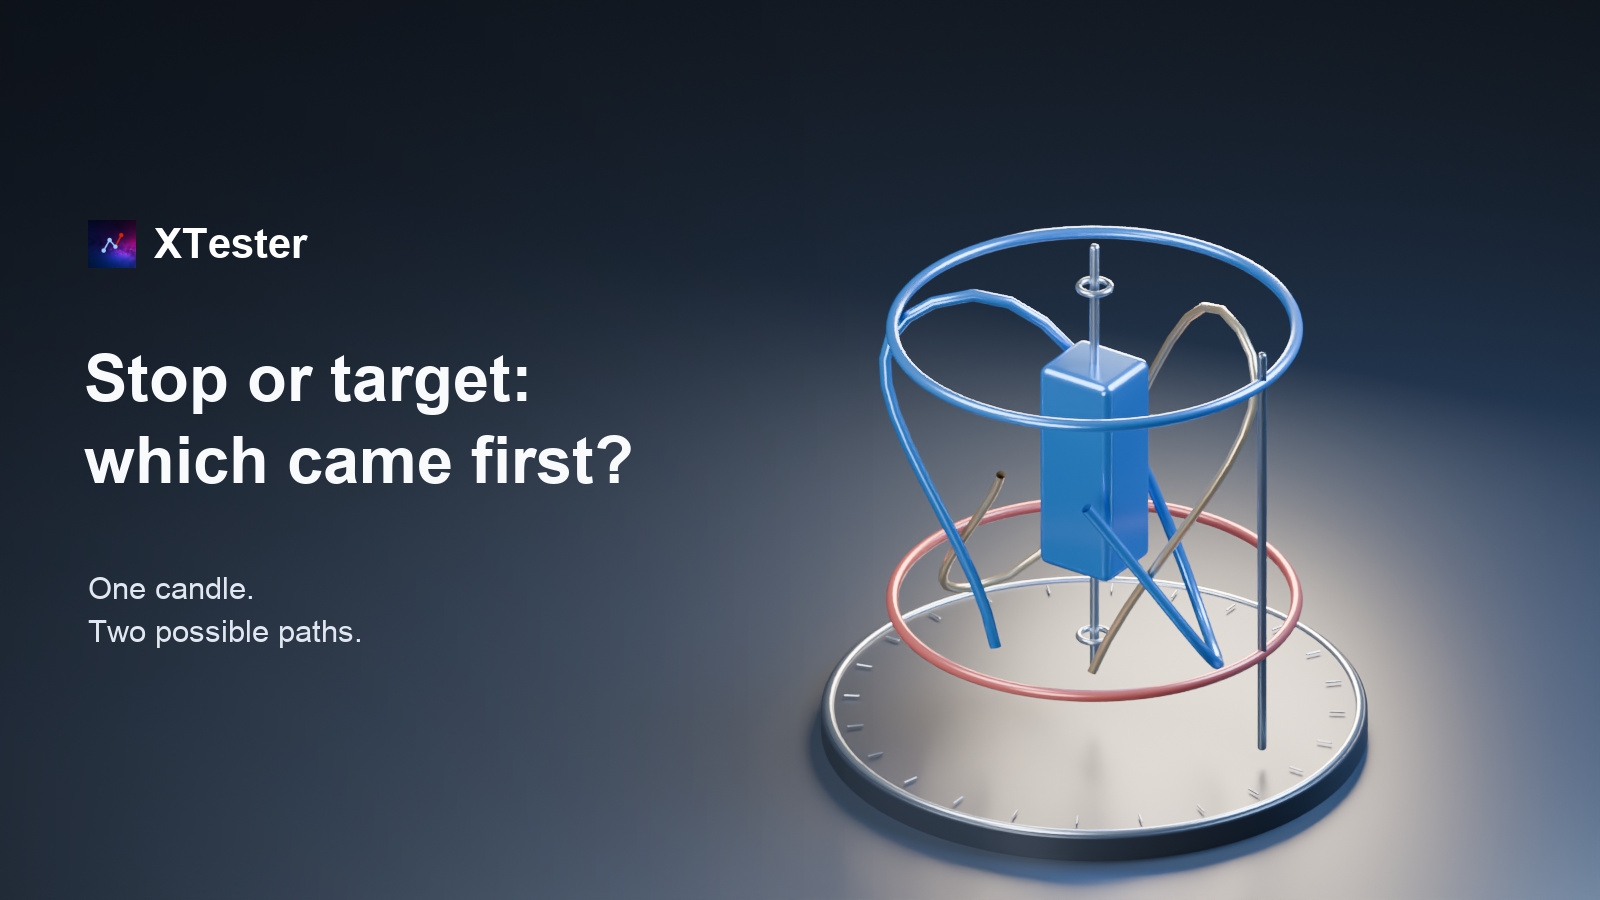
A candle’s low is below the stop and its high is above the profit target. The backtest closes the trade at a profit. Is that exit established by the data? Not by a single OHLC candle. It records the open, high, low, and close, but not the complete sequence of prices between them.
For a crypto strategy with tight stops, this is an important check. Establish which orders were already active, which price path the simulator assumed, and whether another admissible sequence changes the conclusion. The aim is to examine the model, not find a setting that makes the report look better.
Why one candle is not enough
Consider an illustrative long position opened before the candle starts. Its stop is 95 and its profit target is 105. The next candle has Open = 100, High = 106, Low = 94, and Close = 101. These are invented teaching values, not market quotes or strategy returns.
Both paths fit those OHLC values:
| Admissible sequence | Level reached first |
|---|---|
| 100 → 106 → 94 → 101 | Profit target at 105 |
| 100 → 94 → 106 → 101 | Stop at 95 |
The table assumes both exit orders are already active, the first exit closes the entire position, and the second no longer applies. This deliberately simplified model excludes gaps, order queues, and partial fills. It establishes just one point: the same candle can support different outcomes.
Check when the order became active first
Even a known price sequence is unhelpful if the simulation uses an order before it exists. If a signal is calculated at the candle’s close, it cannot automatically fill at that same candle’s earlier low: the closing value was not yet known.
For the disputed trade, record four times: signal creation, order submission, activation in the model, and execution. Then establish when protective exits appeared. A stop may have been created only after the entry, rather than being active throughout the candle.
For futures, also record the trigger-price source. If an exit is triggered by mark price, last-price candles alone do not establish that it triggered. Liquidation and stops are covered in a separate XTester article; this guide focuses on event order within a bar.
Identify the simulator’s assumption
Engines use different rules. For example, TradingView’s documentation explicitly describes how its broker emulator assumes a path between OHLC values. More detailed data can change a same-bar exit. This describes TradingView, not an assertion that XTester uses the same algorithm.
For your run, record the tester version, data type, execution settings, and the rule for a bar that touches both levels. If the last item is undocumented, mark it unknown and reproduce an isolated case. Do not infer the rule from one attractive trade: the same outcome could arise for a different reason.
Three ways to investigate the exit
Inspect finer-grained data. Find the same interval on a lower timeframe from the same source and for the same instrument. If the stop and target fall in different lower-timeframe candles, their sequence becomes clearer. If both remain inside one smaller candle, the ambiguity remains. Finer OHLC is not a complete trade history or an order-book queue.
Compare two admissible scenarios. For a sensitivity check, consider stop-first and target-first execution while holding other assumptions fixed. These are model scenarios, not precise lower and upper bounds on future performance. Gaps, costs, and incomplete execution can produce other outcomes.
Flag unresolved trades. Do not silently remove them from statistics. Report how many cases remain and separately assess whether the overall conclusion depends on the chosen sequence. If it does, a single final P&L is insufficient evidence.
Organizing the check in XTester
Start with one disputed trade rather than the entire report. XTester provides historical testing and result inspection. Begin with the results documentation and compare the trade record with the underlying data. Check the run’s period, source, market, and instrument.
Preserve the original calculation before changing settings. Prepare a short interval around the disputed event for a repeat check, and record exactly what changed. Do not change code, commission, and historical-data detail together: doing so makes the source of a difference harder to identify.
Do not interpret the two scenarios above as a ready-made XTester toggle. They are a checking method; implementation depends on the version and execution model. If documentation and a controlled case cannot establish the rule, leave the conclusion open.
What the test conclusion should say
A useful conclusion is specific: “The exit depends on the intrabar price sequence; lower-timeframe data did not resolve it; further checking is required.” If the sequence is established, identify the source and granularity alongside the remaining execution limitations.
The objective is not to select stop-first every time. It is to avoid presenting a simulator’s assumption as an observed event. Resolving one bar’s ambiguity still does not establish strategy robustness or guarantee future profits.
This material is for information only and is not investment advice. Backtest results do not guarantee future returns.